


The longest part is cutting and wrapping them, and your kids would love to help you with this part! I am making mine as a Mothers Day Gift, but they are perfect for that special friends' birthday, or of course the winter holidays.
I prefer mine to be a soft chew and not too hard. The longer you cook these the harder the candy will be, so you can start with the times below and adjust to your own preference. Here's how I make mine.
Caramel Candy
Ingredients:

1 (12 oz.) can sweetened condensed milk (or make your own)
2 sticks real butter (1 cup total)
1 Cup brown sugar (or make your own)
1 Cup white sugar
1 Cup light Karo syrup
Directions:
In large microwave safe bowl, melt butter. Add the rest of the ingredients and stir completely. Cook in microwave on high for 7 minutes. Take it out carefully (it's stinkin' hot!) and stir thoroughly, scraping the sides.

Cook for another 7 minutes on high. Remove from microwave.

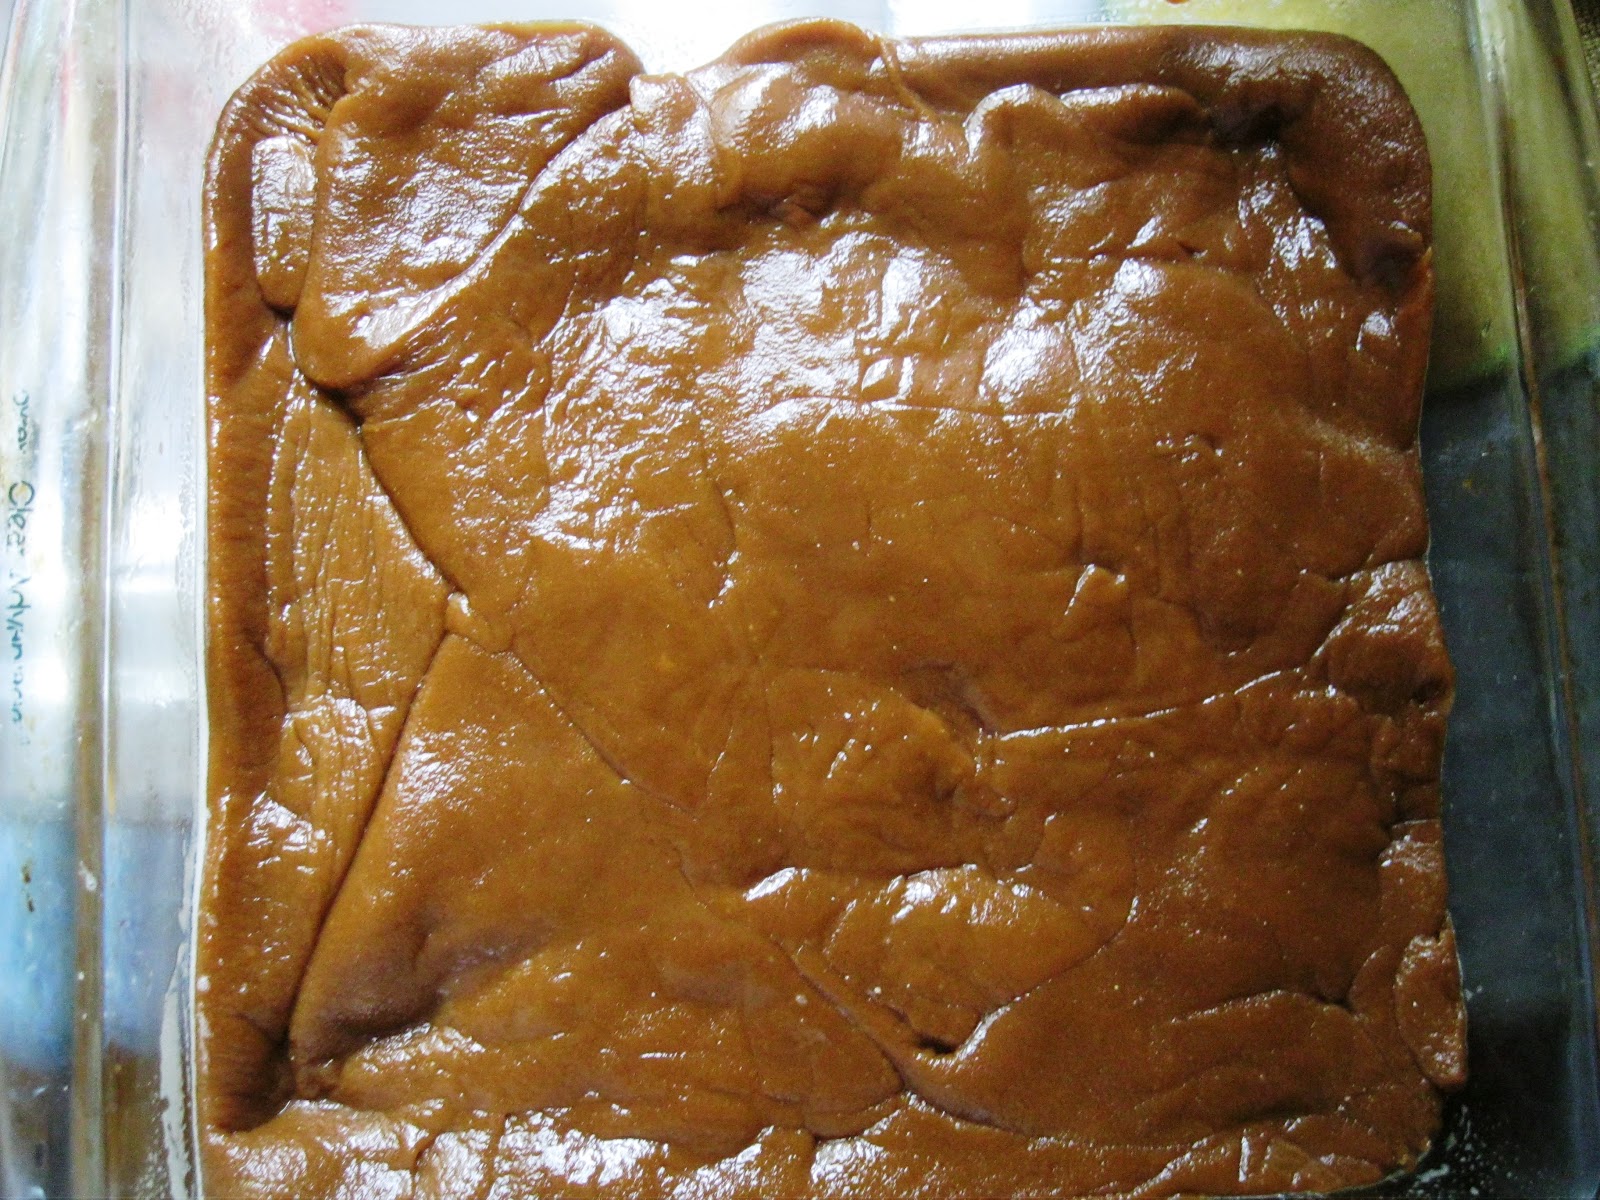
Test consistency of caramels by dropping some into a cold glass of water. Pull the drop out of the water. The caramels should be hard enough to hold their shape and not ooze in your hand, yet soft enough to chew.


The above picture is just perfect for me, a super soft chew, but If they are too soft for you or won't hold their shape and oozes around in your hand abit, put them in for more time, but do it in 1-2 minute increments, testing after each cooking, using the water test. Just remember that as you set them in the fridge to set up and cool they will firm up even more, so keep that in mind when deciding. (my old microwave needed about another 3 minutes but my new one does not.)
Pour them into a greased pan. 9 x 13 will make thinner candies. I chose a 9x9 square pan and made them about 3/4 of inch thick. If you pour them in one size and quickly decide you don't like that thickness, then very quickly you can spray a different sized pan with non stick spray and transfer to a new pan and press down to spread the caramel.

Set caramel in fridge for up to a few hours. Cut into squares, then wrap in wax paper or parchment paper squares.


